Search This Blog

Monday, November 21, 2016

Moist & Flavorful Smoked Turkey

This recipe makes a tasty bird! It loosely follows Steven Raichlen's instructions for Double Whiskey-Smoked Turkey on projectSmoke. Now, if you haven't been diverted to the professional's guidance, here are my tips...

1. Plan Ahead
It takes a while to thaw a bird, so buy your turkey well in advance and get it into the fridge several days before you plan on soaking (in brine) and smoking. Here's a helpful guide I found on Foodsafety.gov:


2. Remove the Extra Parts & Rinse
If you bought a whole bird, you'll find the neck, liver, gizzard, heart, etc. stuffed in the front and main cavities. Be sure to remove these before you get started. Rinse the turkey well with cold running water.


3. Mix the Brine
Here are my recommended brine ingredients (for a 12-14 pound bird):
1 medium onion (quartered)
2 apples (sliced)
2 oranges (sliced)
1 bulb garlic (halved)
1 tbs black peppercorns (whole)
1-1/2 cup kosher salt
1-1/2 cup sugar
1/2 cup brown sugar
2 tbs sorghum molasses
1 cup whiskey (cheap)
rosemary, sage, thyme (I use about 1 tbs each of large leaves dried from the herb garden)
water as needed to cover the bird

It works best to start with a small amount of hot water to dissolve the salt, sugar and mix in the molasses, then combine whiskey and the remaining dry ingredients. Add fruit and pour in cold water to create the desired quantity of brine.

Feel free to substitute ingredients or toss in other sweet or savory items that might add a hint of desired flavor to your bird (e.g. maple syrup, apple cider, cloves, bay leaves, etc.)


4. Brine the Bird
Place the thawed turkey in the brine, leg end up. Jiggle it around until fully submerged and surrounded by the brine ingredients. Cover and soak 24 hours in the refrigerator. Make sure the entire bird stays submerged. Invert the bird halfway through if needed to ensure it brines fully.


5. Inject the Bird
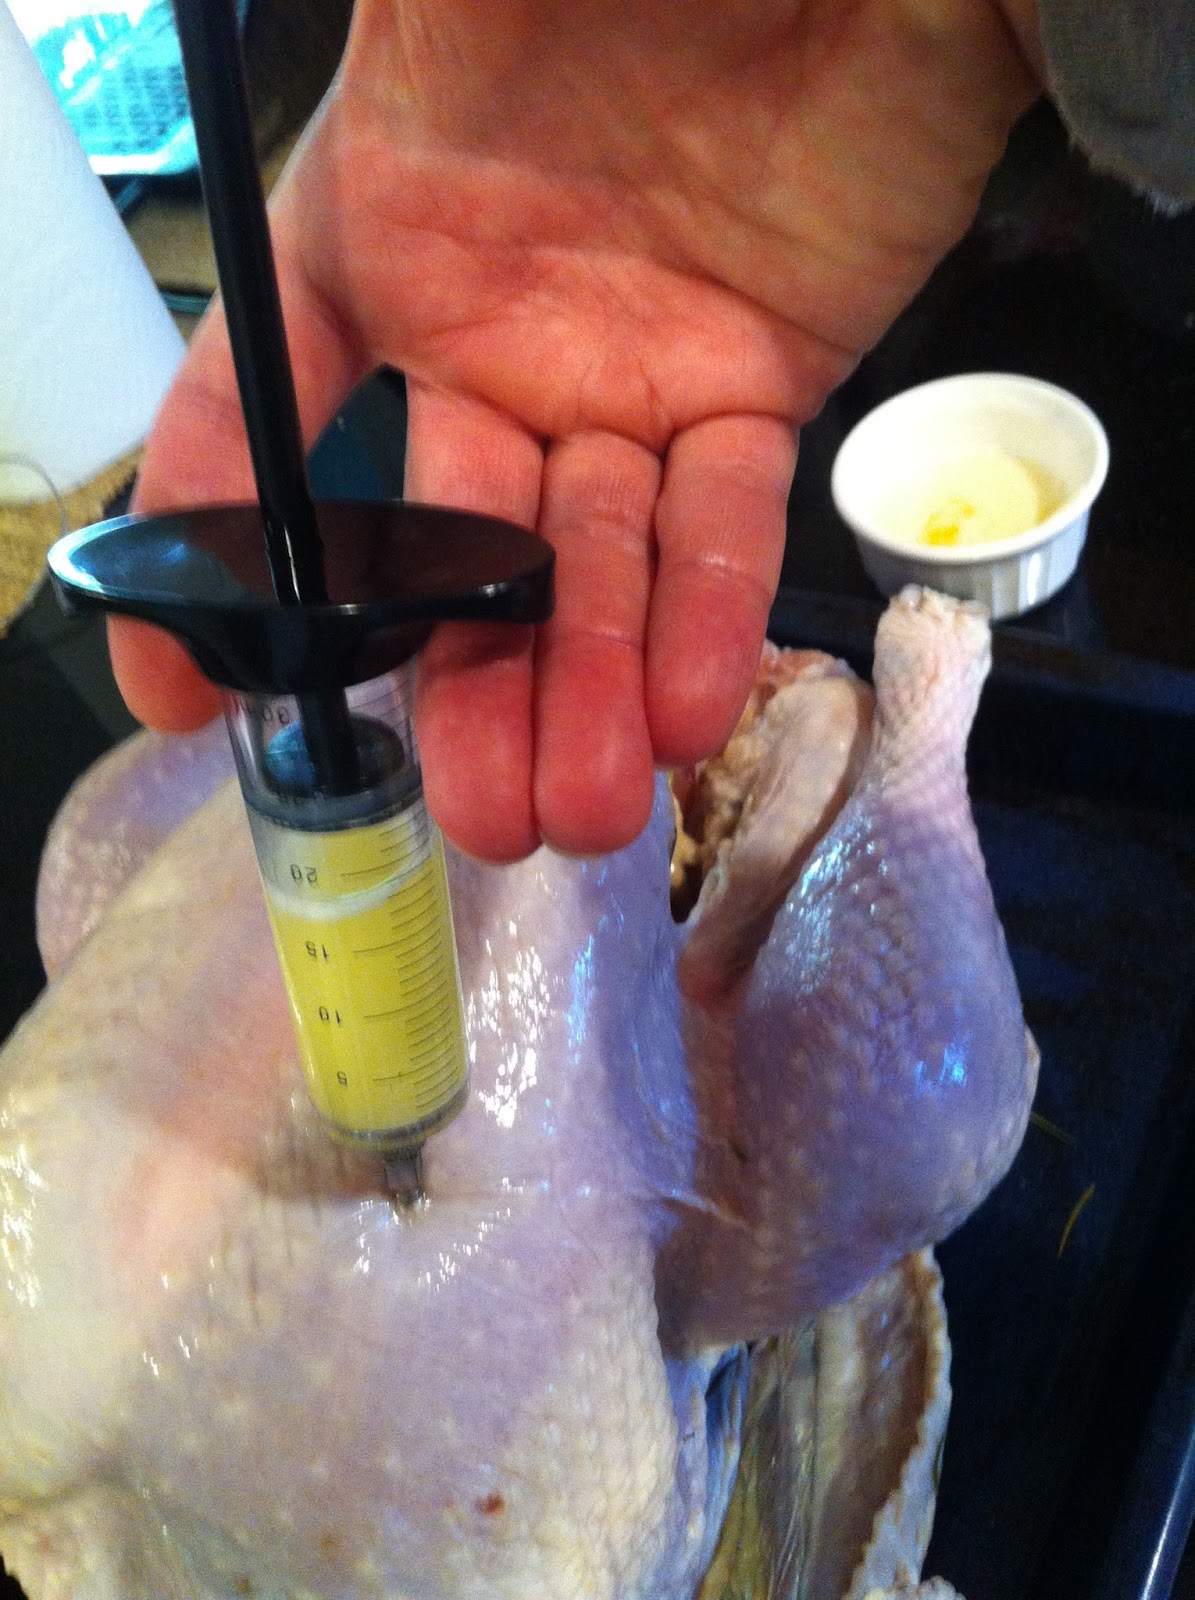
For added flavor, melt four tablespoons of salted butter and inject in small quantities to all parts of the bird with a food injector syringe.

6. Smoke the Bird
Don't throw that brine away! If you're using a water-bath smoker, collect fruit and spices from the brine and toss them in the water bath. You may also wish to use a 50/50 mixture of water and apple juice or apple cider in the bath instead of just plain water.


Fire up your smoker, load the chips, and cook the bird. Tie the legs and wings in tight against the body and place it on the rack. Maintain a smoker temperature of 225-250 deg F and keep the smoke rolling for at least three hours. At this point the bird has acquired a good smoke flavor. You should begin basting the bird with melted butter about every hour to create a golden finish. A thermometer placed in the thigh should register 170 deg F before you remove the bird from the smoker.


7. Remove, Rest & Carve
Remove the bird from the smoker, place on a warm platter, and drape a sheet of aluminum foil over it to rest for about 20 minutes before serving.

8. Enjoy!


Saturday, August 13, 2016

Smoked Pork Ribs

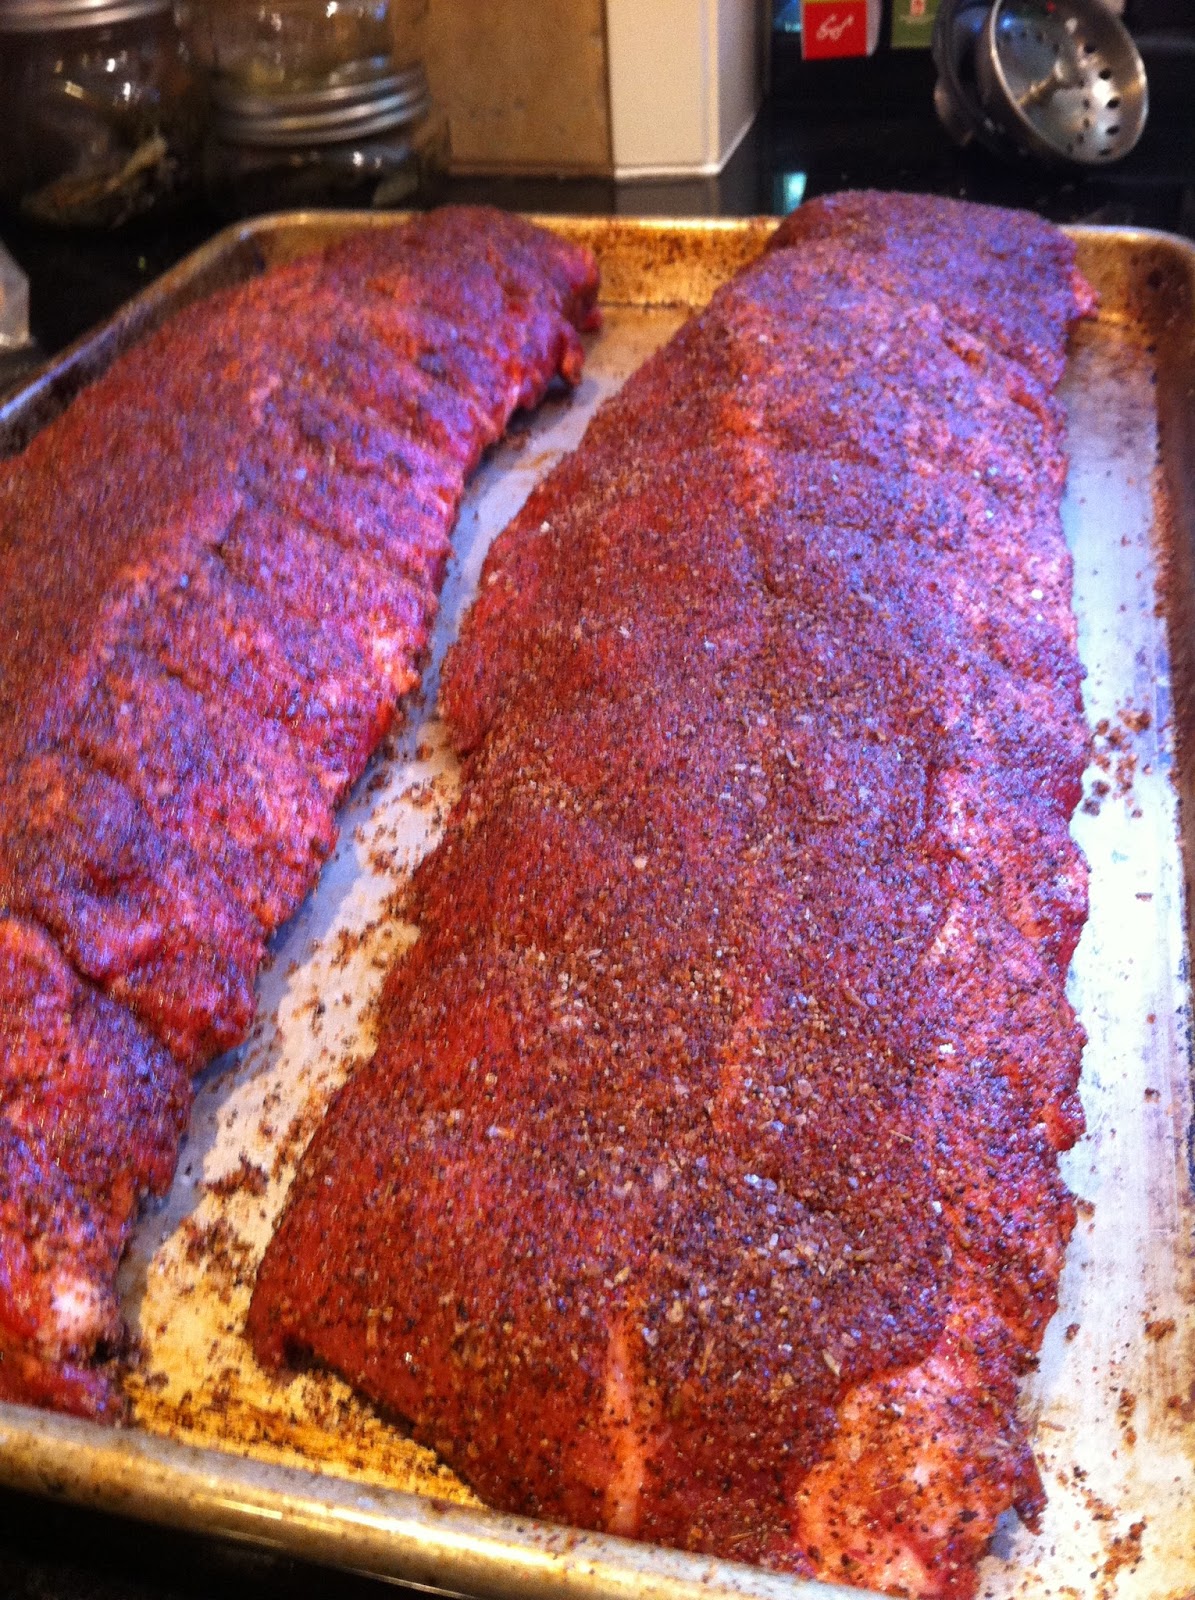
I've found this formula to work well for moist and flavorful pork ribs. The recipe is for two racks. Increase ingredient quantities while keeping the same proportions if you want to make more.


THE RUB:


THE METHOD:

Start with two racks of pork back ribs.

Remove ribs from packaging and pat dry with paper towels. Remove membrane from the back side of the ribs by grasping with a dry paper towel.


Combine all ingredients of the rub and apply liberally to the front, back and edges of the racks.


Smoke the racks for 2 hours at 225 - 250 F.


Remove from smoker, wrap each rack individually in heavy duty aluminum foil, pouring about 1/4-cup of apple juice into each packet before sealing.


Return to smoker and cook for 2 hours in foil around 250 F. You don't need smoke for this step, so this can be done in your oven if desired.


When you unwrap after steaming in apple juice, the meat will have begun pulling away from the bone. They're lookin' good, but you're not done yet!


Lightly baste each rack with your favorite BBQ sauce (mine is Sweet Baby Ray's Original) then return to the smoker uncovered.


Reload chips and smoke for two more hours.


Your ribs are ready after 6 total hours of cooking, but there is one more step you may wish to take...

For crispier servings, cut into single or two-rib servings and then grill briefly at high temperature on your gas or charcoal grill.


Enjoy!

Saturday, March 19, 2016

Smoked Pork Butt

Today I'm making my favorite -- smoked pork butt!

Here's my approach:

Purchase a 6-8 lb Boston Butt (bone in)

Inject with the following mixture:
1/3 cup apple juice
1/3 cup white grape juice
1/4 cup white granulated sugar
1-1/2 Tbs salt
(warm the mixture in microwave 30 sec - 1 min to better dissolve sugar and salt)

After injecting, pat dry with paper towels and then apply a dry rub:
4 tsp seasoned salt
2 tsp dark brown sugar
1-1/2 tsp white granulated sugar
1-1/2 tsp paprika
1/4 tsp garlic powder
1/4 tsp ground black pepper
1/8 tsp dry mustard
1/8 tsp ground cumin
1/16 tsp ground ginger

Smoke at 225-250 F until internal temperate of at least 190 F is reached (typically takes about 13 hours).

Shred and serve!

Apply sauce to individual servings. The meat will have good flavor, so don't overdo it on sauce! I've tried making sauces, but haven't created anything I like better than Sweet Baby Ray's Original.

My preferred wood for smoke is apple, and I often pour some apple juice in the water bath pan as well.

You can speed this process up by wrapping the butt in foil when temperature stalls around 165 F, but my preference is to leave it on the smoker untouched until finished (don't even open the lid to peek). I typically reload the can of wood chips once during the process, which keeps the smoke rolling for about the first six hours.


Saturday, March 12, 2016

Modifications for Improved Burner Operation

Using the smoker on breezy days, I sometimes experienced issues with wind gusts extinguishing the burner flame. To remedy this issue, I built an air intake plenum of soffit venting, with baffles inside, and attached beneath the burner pan.


I also installed three baffles around the burner inside the pan.


Testing on a windy March day yielded good results!

Sunday, February 28, 2016

Test Firing

About six weeks after beginning the project, I was ready to test fire the smoker. I started out with a very low flame and gradually increased the gas and eased it into the smoking temperature range of 225-250 F. I was pleased with the stability of the temperature and ease of control. I used a digital thermometer to verify the accuracy of the smoker's dial thermometer...I found the dial thermometer's accuracy lacking, but deviation from actual temperature was consistent, so it is useful for managing temperature of the smoker by converting (200 F on the dial is about 225 F inside the smoker, 225 F on the dial is about 250 F inside the smoker, etc.).